Bagaimana server perangkat berbeda dari adaptor jaringan?
Dalam dunia jaringan komputer, memahami perbedaan antara server perangkat dan adaptor jaringan adalah penting untuk mengoptimalkan operasi dan kinerja sistem. Meskipun keduanya memainkan peran krusial dalam komunikasi data, mereka memiliki fungsi dan cara kerja yang sangat berbeda. Artikel ini akan menguraikan berbagai aspek yang membedakan kedua komponen ini.
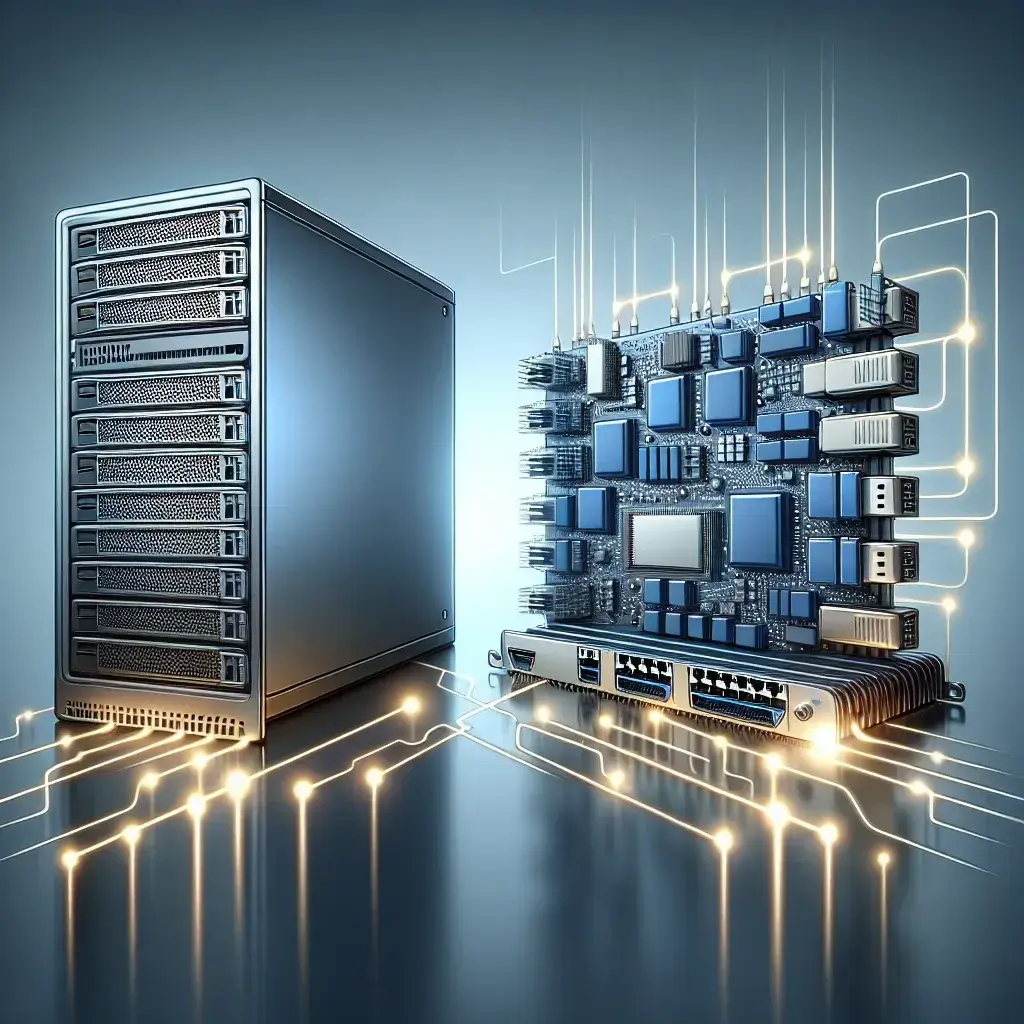
Definisi dan Fungsi Utama
Server Perangkat
Server perangkat adalah komputer atau sistem yang dikhususkan untuk menyediakan layanan kepada komputer lain dalam jaringan. Server ini dapat mengelola, menyimpan, dan memproses data, serta menyediakan fungsi tertentu seperti hosting website, database, email, dan aplikasi lainnya.
Adaptor Jaringan
Adaptor jaringan, yang juga dikenal sebagai Network Interface Card (NIC), adalah perangkat keras yang memungkinkan komputer untuk berkomunikasi dengan jaringan. Adaptor ini menyediakan antarmuka antara sistem komputer dan medium jaringan, baik itu kabel Ethernet, Wi-Fi, atau teknologi jaringan lainnya.
Perbandingan Berdasarkan Kriteria Utama
| Kriteria | Server Perangkat | Adaptor Jaringan |
|---|---|---|
| Fungsi Utama | Menyediakan layanan dan sumber daya jaringan. | Menghubungkan komputer ke jaringan. |
| Komponen Utama | CPU, RAM, Storage, PSU. | Chipset, Port jaringan, EEPROM. |
| Lokasi | Pusat Data, Ruang Server. | Internal komputer (PCIe) atau eksternal (USB). |
| Kompleksitas | Tinggi, membutuhkan manajemen dan pemeliharaan. | Rendah, biasanya plug-and-play. |
| Kinerja | Tergantung pada spesifikasi hardware dan jaringan. | Tergantung pada standar jaringan yang didukung. |
Detail Komponen
Server Perangkat
Server perangkat memiliki berbagai komponen yang memastikan operasinya berjalan lancar:
- CPU: Prosesor yang menangani perhitungan dan tugas data.
- RAM: Memori untuk menyimpan data sementara dan meningkatkan kecepatan akses.
- Storage: Penyimpanan untuk data dan aplikasi (HDD, SSD).
- PSU: Catu daya yang mensuplai listrik ke semua komponen server.
Adaptor Jaringan
Adaptor jaringan memiliki komponen spesifik yang memfasilitasi konektivitas:
- Chipset: Menangani proses yang diperlukan untuk komunikasi jaringan.
- Port jaringan: Interface untuk menghubungkan ke medium jaringan (Ethernet, Wi-Fi).
- EEPROM: Chip memori yang menyimpan firmware dan konfigurasi adaptor.
Pemakaian dan Implementasi
Server Perangkat
Server perangkat biasanya digunakan di pusat data atau ruang server. Server ini dikelola oleh IT profesional yang memastikan keamanan dan performa optimal. Di bawah ini adalah beberapa penggunaannya:
- Hosting website dan aplikasi web.
- Database server untuk manajemen data skala besar.
- Email server untuk mengelola komunikasi email.
- File server untuk penyimpanan dan berbagi file.
Adaptor Jaringan
Adaptor jaringan digunakan di hampir setiap komputer, baik itu desktop, laptop, atau perangkat mobile. Adaptor ini memungkinkan perangkat untuk terhubung dengan jaringan lokal maupun internet. Berikut adalah beberapa penggunaannya:
- Koneksi internet melalui kabel Ethernet atau Wi-Fi.
- Koneksi jaringan lokal untuk berbagi sumber daya seperti printer atau file.
- Koneksi remote desktop dan aplikasi kolaborasi berbasis jaringan.
Kesimpulan
Ketika memahami perbedaan antara server perangkat dan adaptor jaringan, penting untuk melihat fungsi utama dan komponen yang membentuk masing-masing. Server perangkat berfungsi lebih kompleks dan multifungsi, sementara adaptor jaringan lebih sederhana namun esensial untuk konektivitas dasar. Memahami perbedaan ini dapat membantu ketika merencanakan dan mengelola infrastruktur jaringan Anda.

