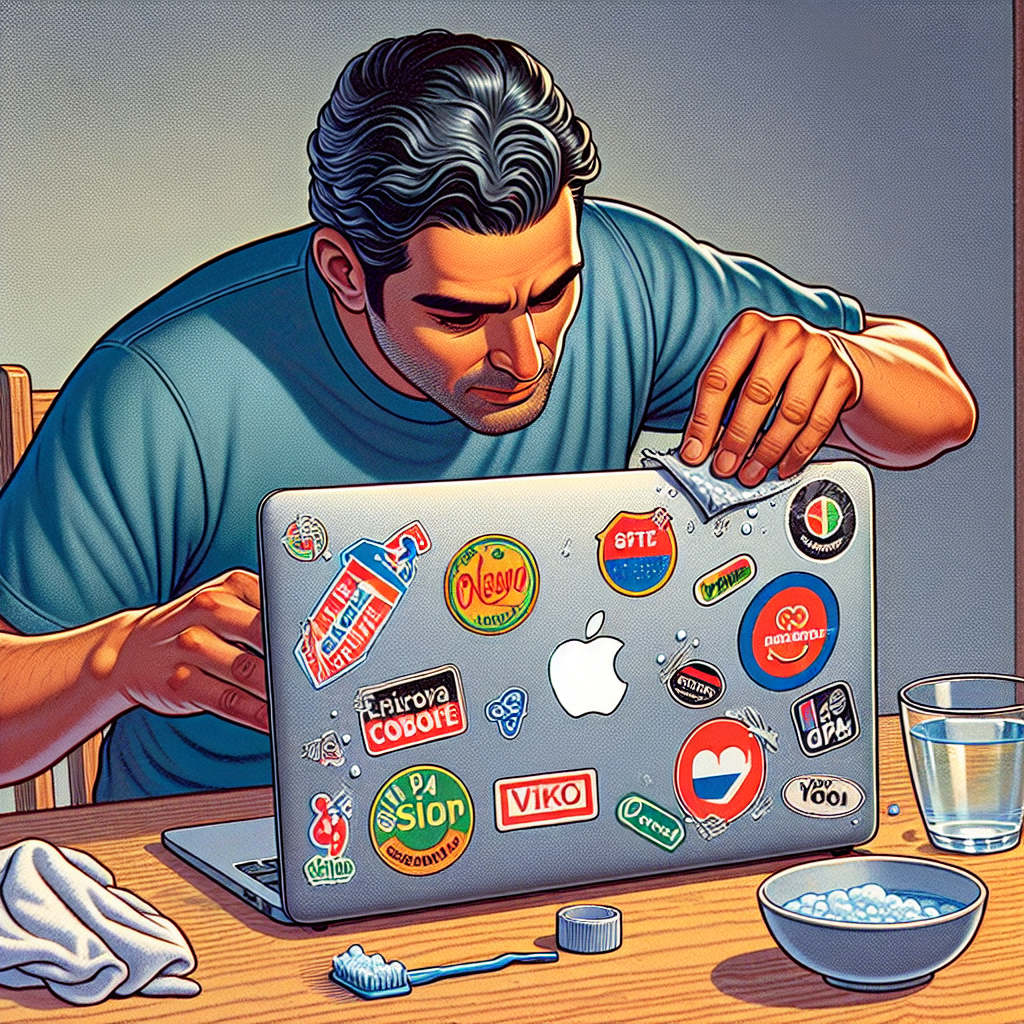
How to Remove Stickers from Your Laptop?
Stickers can add a touch of personality to your laptop, but there might come a time when you want to remove them. Whether it’s an outdated logo, a worn-out sticker, or just time for a refresh, removing stickers without damaging your laptop surface can be challenging. This guide provides comprehensive steps and tips to ensure a clean, sticker-free laptop.
Tools and Materials You Need
| Tool/Material | Purpose |
|---|---|
| Plastic card or scraper | To gently lift the sticker |
| Hairdryer | To soften the adhesive |
| Isopropyl alcohol | To clean residual adhesive |
| Microfiber cloth | To wipe and clean surfaces |
| Cotton swabs | For detail cleaning |
Step-by-Step Guide to Remove Stickers
1. Assess the Sticker and Surface
Before diving into the removal process, assess the type of sticker and the laptop’s surface material. Certain stickers might peel off easily, while others could require a bit more work. Additionally, the material of your laptop’s cover (plastic, metal, or glass) could influence the method you should use.
2. Use a Hairdryer to Soften the Adhesive
The heat from a hairdryer can soften the adhesive, making it easier to remove the sticker. Set your hairdryer to a medium heat setting and blow it over the sticker for about 30-60 seconds. Be cautious not to overheat, as this might damage your laptop.
3. Peel Off the Sticker
Once the adhesive is softened, use a plastic card or a scraper to lift the edge of the sticker gently. Avoid using metal tools as they can scratch your laptop. Slowly peel off the sticker, applying more heat if necessary.
4. Clean Residual Adhesive
After removing the sticker, you’ll likely find some adhesive residue left behind. Dampen a microfiber cloth or cotton swabs with isopropyl alcohol and gently rub the area to remove the remaining adhesive. Isopropyl alcohol is preferred because it evaporates quickly and won’t damage your laptop. However, ensure not to soak your device.
5. Final Cleanup
Once the adhesive is entirely removed, use a clean microfiber cloth to wipe down the area, leaving a spotless and smooth surface. This final step ensures no sticky patches remain.
Tips for a Smooth Sticker Removal
- Test in a Small Area: Before applying heat or alcohol to a large area, test it in a small, inconspicuous area to ensure no damage occurs.
- Use Circular Motions: When cleaning with alcohol, use circular motions to avoid streaks.
- Patience is Key: Don’t rush the process. Taking your time can prevent surface damage.
Common Mistakes to Avoid
- Using Sharp Objects: Avoid using knives or metal scrapers as they can cause scratches and permanent damage.
- Overheating: Excessive heat can damage your laptop’s internal components. Always use medium heat settings.
- Direct Liquid Application: Never pour alcohol or any cleaning liquid directly onto your laptop. Use a cloth or cotton swab.
Alternative Methods
Goo Gone or Adhesive Removers
Commercial adhesive removers like Goo Gone can be effective but use them with caution. Apply a small amount to a cloth first, then rub the adhesive residue gently.
White Vinegar
If you prefer a natural approach, white vinegar can be an alternative to isopropyl alcohol. It can effectively break down adhesive residues without damaging your laptop surface. However, its smell might be strong.
Conclusion
Removing stickers from your laptop doesn’t have to be a daunting task. With the right tools, methods, and a bit of patience, you can safely and effectively restore your laptop’s clean surface. Remember to test any method on a small area first to prevent unintended damage. Follow these steps and tips to keep your device looking pristine.


